

For many, the installation of OpenVPN is a very complex process, the generation of certificates, keys, etc. causes difficulties.
In this article I want to introduce you to a script that literally 5 minutes or a few clicks allows you to install an OpenVPN server on CentOS, Debian or Ubuntu.
So, let’s get to it…
To install in the console run the next command:
wget https://git.io/vpn -O openvpn-install.sh && bash openvpn-install.sh

You will then be taken to the welcome screen of the installer.
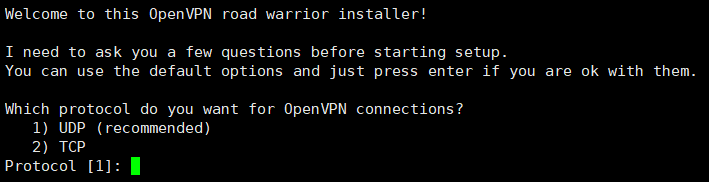
If you do not know the difference between UDP and TCP, choose option 1 (UDP)
Now we are asked to specify the port.
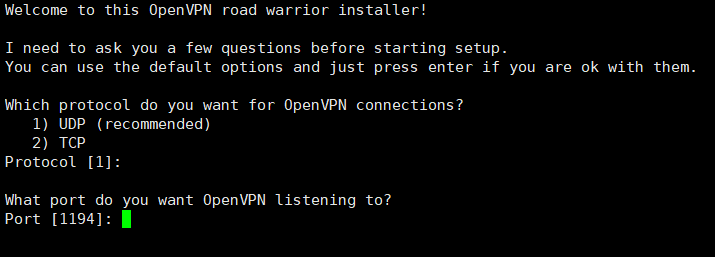
If there is no preferences leave as there is. Go on…
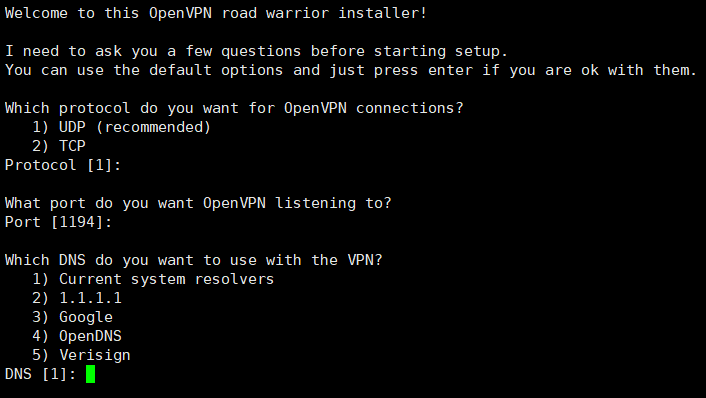
In next step, us ask what DNS to leave, can be to leave as there is or choose for example Google, their and choose.
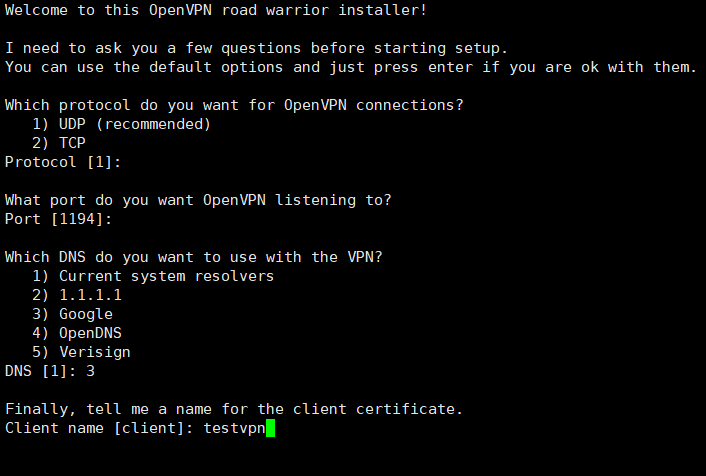
The next step is to specify the name of the client (client certificate).
Well, the final question of the installer will be a proposal to press any key to start the installation process of the necessary set of software.

Press any key…. And the installation process begins. There is a download of software packages by the package Manager depending on Your OS and further generation of keys, certificates and server, client configurations.
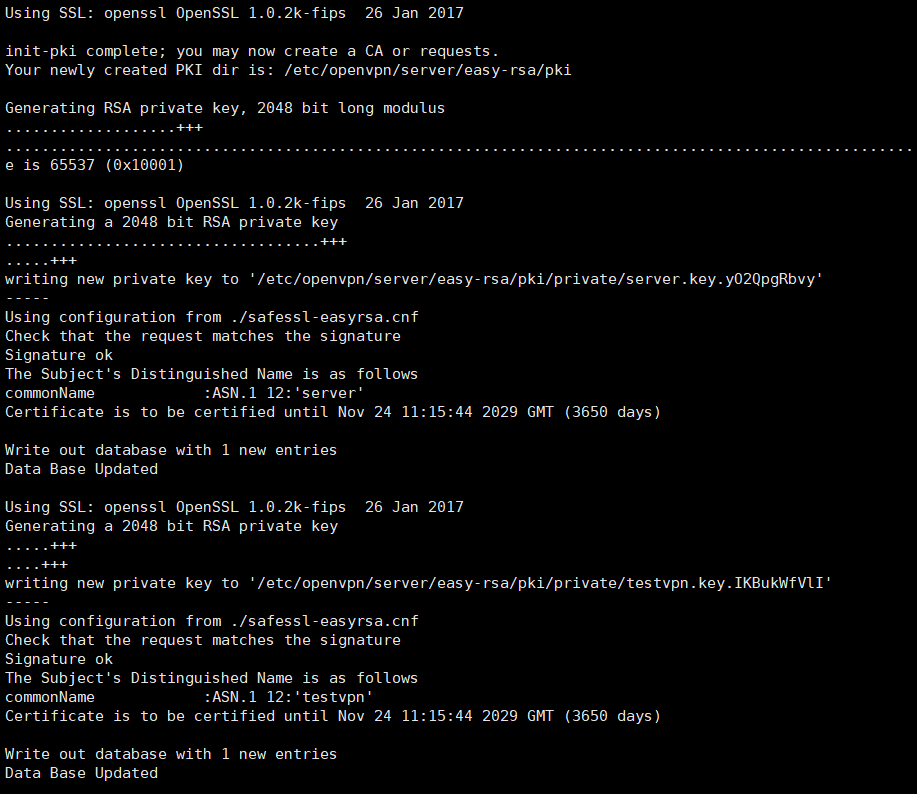
At the end of the process, the installer will display the final notification.

Which means our server is installed and ready to go.
Next, you need to download the client config testvpn .ovpn (name depends on what client name you specified during installation) and use it on client devices (Windows, Android, iOS, MacOS, etc.).
This is probably all, the process is very easy and does not require special skills.
All secure connections!